Sunday, April 12, 2020

GPIB - PCI GPIB board

Previous post was about a home made and cheap solution to provide instrument control via GPIB.

This time a less cheaper alternative but still in budget.

Since the prices of a proper PCI GPIB board or a PCMIA version are on high values I searched for older cards, you have plenty of less expensive ones but they are for older PCI or even ISA interfaces, I managed to get one National Instruments PCI 32 GPIB board for the sum of 30 EUR (inc shipping) but I didn't had the computer for it! (currently only have the laptop with me), again on the used marked got an HP8200 Elite PC with OK specs for 62 Eur delivered. The total of my setup is then 92 Eur, that is lower value than what people ask for a PCMCIA and some PCI GPIB cards, adding to the lower value I have now a new PC for the lab.

I wanted a small form computer due to space limitation, the drawback is; it does not have full height slots, so, had to add and extension cable from the slot to the card drill a bit on the back panel and place the board zip tied inside. Since the PC is not suppose to move around, this setup will work.

Here's the result:

 Not the prettiest of the hacks but very few metal tools available currently so all mostly done with pliers.
The board in place horizontally still without the PCI cable extension attached.
 The PCI extension cable:


Since I use Linux, had to load the driver and after some "fighting" manage to get everything working.
The "lspci" confirming the card is in place.


And the driver:
       gpib_common            45056  2 tnt4882,nec7210

and loading messages:

[   13.495862] gpib_common: loading out-of-tree module taints kernel.
[   13.505196] gpib_common: module verification failed: signature and/or required key missing - tainting kernel
[   13.505484] Linux-GPIB 4.3.0 Driver
[   13.506402] gpib: registered ni_isa interface
[   13.506403] gpib: registered ni_isa_accel interface
[   13.506403] gpib: registered ni_nat4882_isa interface
[   13.506404] gpib: registered ni_nat4882_isa_accel interface
[   13.506405] gpib: registered ni_nec_isa interface
[   13.506405] gpib: registered ni_nec_isa_accel interface
[   13.506405] gpib: registered ni_pci interface
[   13.506406] gpib: registered ni_pci_accel interface


Using this card, already manage to program some simple code for all of my instruments, except the EIP 371 frequency counter that was not tested yet.

In the future I plan to create some posts with code examples for the following instruments:

Marconi 6960A Power meter
HP 3478A Multimeter
HP 5316B Frequency meter
ICS 4896 GPIB to quad Serial "converter" (this is not a serial do GPIB converter so can't be used to control GPIB instruments)
HP/Agilent 6621A power supply
R&S NRVS power meter


Have a nice day!

Saturday, March 28, 2020

GPIB - USB GPIB controler arduino based

This will be part of a series for test instrument remote control, I started this with my own "instrument" design and code a USB temperature measurement on this blog post and bellow hardware:


 This time and because I have several branded instruments with GPIB bus control, decided to try this nice project  that consist of an Arduino connected to a GPIB plug and acting as a poor man GPIB controller.

The idea of the original project was to create an affordable alternative to more expensive solution of USB to GPIB, PCMCIA or even PCI GPIB cards that still a bit on the expensive side for the common amateur.

Basically only had to follow the instructions on the project page, I used an GPIB cable cut in half since it was cheaper than just buying the plugs and can still make a second unit with the half left:


... I chose to label all the cables to pin numbers to keep it easy, otherwise I could had messed up. The cabling stayed a bit squeezed because I under estimated the box size needed.


Used a 1.5m GPIB instrument cable with plugs in both ends.

Another view of the "mess":


For the usage of the system, bellow an example with the Agilent 6621A power supply on GPIB address 1:


Basically, you set the GPIB instrument address (you want to comunicate with) with "++addr" in my case the power supply is set to 1, then you set output 1 to 5 volts (VSET1,5) and then "ask" the instrument to read the output 1 value (VOUT?1 and ++read). The 9.99v on the image was the output of a previous testing setting to 10V.

For the configuration of the USB port and output I get on a Linux system it's like this:

115200 baud 8N1, in my case the device is loaded under /dev/ttyACM0


 I had some testing with other Instruments:

R & S NRVS power meter:

Marconi 6960A power meter:


Besides the number of pins to connect from the GPIB plug to the Arduino the hardest part is going trough the instruments GPIB programing manual and trying to check which of the commands work. Interesting enough the one that should be standard; get instrument id (ID?) I never got and answer using this board when testing.

Right now this project is a backup option/solution because I manage to get a very cheap PCI32 GPIB card and am using it at the moment. I will provide some more info on that on the future. 

Have a nice day and stay safe!


Saturday, March 14, 2020

HP/Agilent 6621A removing fan noise.

This "mod" not only takes all the fan noise from the Agilent/HP 6621A as it goes a step forward, disables it completely...


I got this power supply to equip the lab with something professional grade, it is in fact a really nice power supply with lots of features but has a fan that no one can stand being near by. Imagine a vacuum cleaner to have an idea.

In the past I did a box to bring the two output from the back to the front along with a voltage meter (converted one of 250v to 25) for visual reference of the output, it's easy than looking at the LCD, below indicating 5V on output 2:


Back to the fan noise, initially was thinking in making a thermostat control to actuate only when needed but I'm not going to use the equipment that often so just disconnected the fan, now I can only hear the hum from the massive transformer, that is still noticeable and something I didn't eared/noticed before. To have an idea the power supply weights around 17Kg

The supply has an internal thermal shutdown circuit so hopefully that will be enough for day to day and low current supply. There is also a small gap on the back panel that latter on I can put a switch to enable the fan without the need to open it.

Here's the fan connection:


and without the plug... end of the fan noise:

Interesting enough the fan is a 115V version, here's the diagram:

as you can see the fan will connect to mains transformer terminals 4 and 5 (120V), clever design.


The massive transformer inside:

and one of the two power modules, amazing engineering:


I might revisit this in the future if I decide on thermostat control.

Have a great day!

Sunday, March 08, 2020

FM deviation meter

Not much, here, found it interesting to have a deviation meter so on those rare occasions I'm working on FM will have something to base measures on.

This one does not comes with incorporated receiver as "traditional" ones do but relies on the discriminator out from a radio receiver or scanner. It will work in tandem with my scanner from previous post.

The circuit is based on the work by VK5DJ and VK5VI
Schematic is this one:

For 1mA panel meter I found 9K1 resistor in series from pin 7 (R15) on IC2 to be enough.

If you download the file from VK5DJ site there will be some mod's and better resolution diagrams, including "veroboard" design.

The end result, here on top of the COM205 scanner:


another view:


inside:


...still need to calibrate and "fill" the table on the front panel because It's easier and faster than making an overlay for the 1mA meter

Have a nice day!

Sunday, March 01, 2020

Commtel COM 205 / Realistic PRO 2006 EL backlight circuit and discriminator output

Recently I acquired a Commtel COM205 scanner, for Europe, that is the same as a Realistic PRO 2006 in other parts of the world.


The idea is to use the discriminator out to make a simple deviation meter.

While I bough it second hand I made sure it had the EL backlight was still working and strong just because they have a tendency to fail or dim and I didn't want to install a new one.

Upon receiving, the light only worked for a brief second, immediately I imagine it had failed somehow during transit.
Started to troubleshoot and at some point was convinced it was the high voltage powering circuit that filed because it looked like a very low voltage to power an EL panel (55V) when I was expected thinking that would be in the undred.

After some pocking and even replacing one of the capacitors in the oscillator circuit that generates the high voltage that I realized that was a bad contact on the EL terminals. Good, no more troubleshooting. Anyhow used the occasion to clean some soldering job from previous owner and now it's working as it should.


The back light circuit along with my measurement:

I suspect that if ever fails it will be wither C506 or Q508

The EL panel voltage can be measured at the two terminal above T501 (upper right corner):

 
If you need to change the EL panel, there's a nice description of the process here. I suspect that replacing with LED will be valid also but there's not much space to place them, maybe a led strip would do the job. You only need the back light for visibility in low light conditions (during the night), during the day it's readable without it.


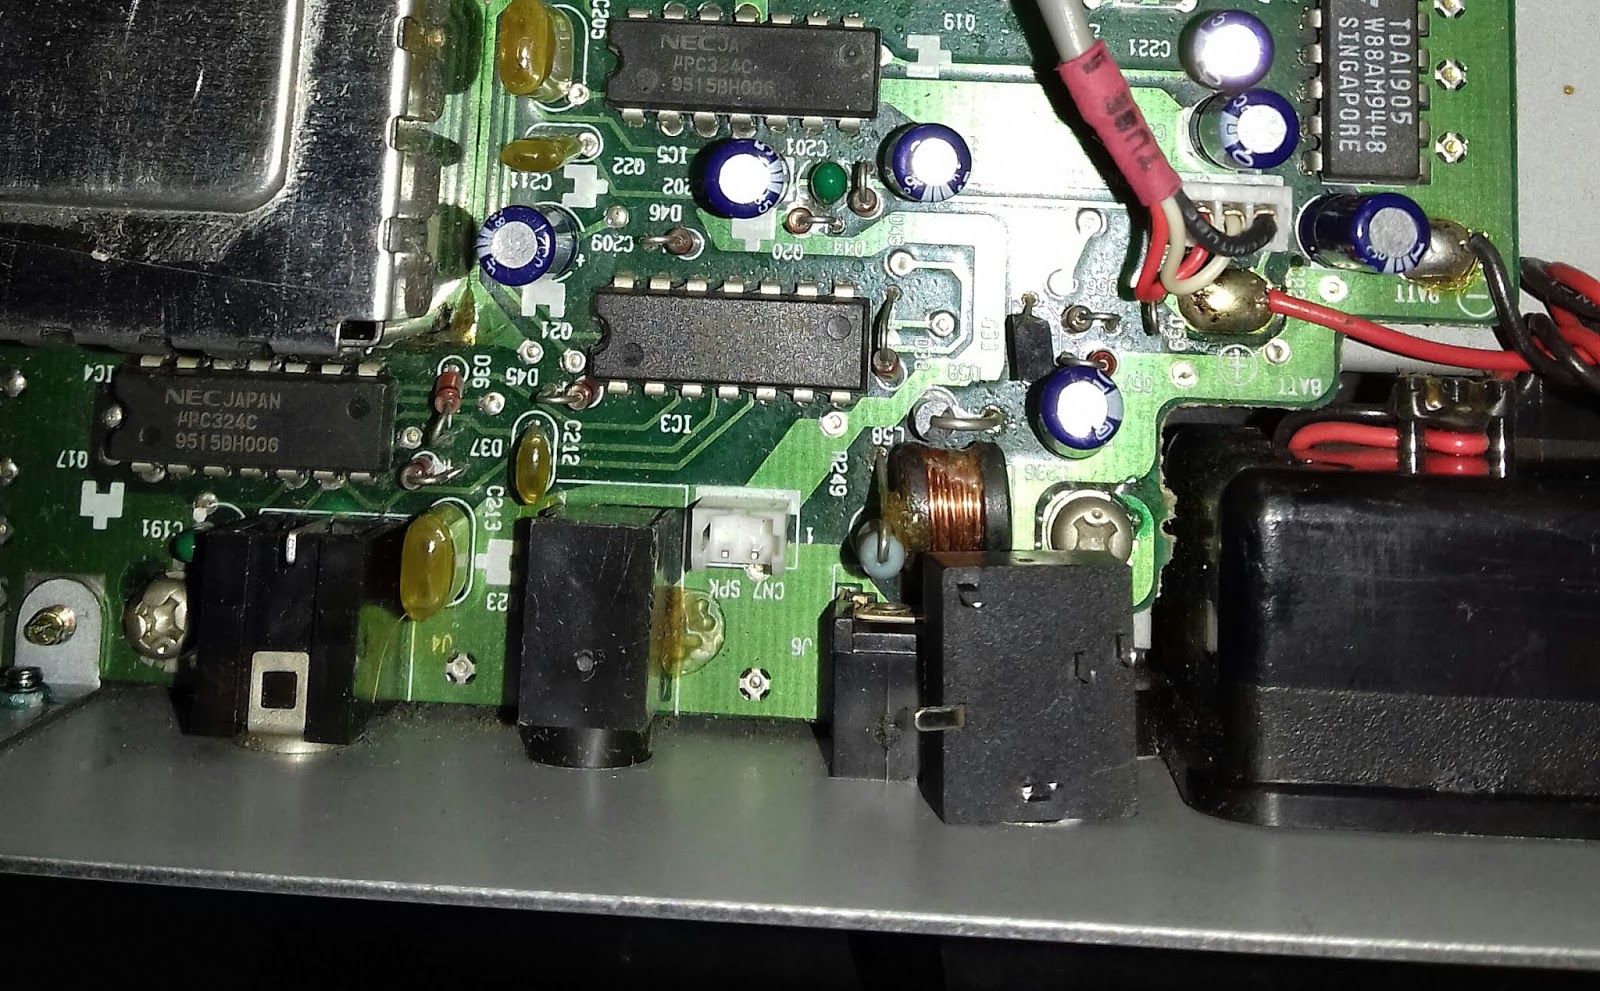
I used the fact that the box was open from the previous job to include the discriminator out plug and the connection to the test point.
The operation is simple and better detailed from this external post.

My job:

The jack fitted above the DC input:

The inside of the jack:
Connection to the test point TP2 (a vertical resistor):
then a series 12K resistor and a parallel to ground 2.2nF capacitor (I had to parallel 2*1nF).

Another view:
On the output of the jack these are the values obtained (DC and AC):


...now I need to finish the deviation meter.

Have a nice day!


Sunday, December 01, 2019

SINAD test set based on Ramsey Electronics kit model SM-1

Nothing special here, in reality it's not based, it's an exact duplication of the Ramsey Electronics Model No. SM-1 schematic at: https://docplayer.net/47428799-Ramsey-electronics-model-no.html

Here's the outcome:


The manual does not have instructions on how to set the two variable pot's but basically you only have R16 to adjust internally when your audio level is enough to deflect the meter.
In my implementation I found the meter does not deflect the full scale it does after changing the meter to a 100uA one instead of the 1mA but since it's a relative measure it does not make a difference. Also I have to set the level pot (on the front panel) to the max I can adjust now full scale, in the future I can just bypass it. Regarding this I could not test yet with an FM radio and a proper signal generator set to 3Khz deviation and 1Khz audio so ended up injecting audio from a function generator, should be close enough.

Testing example here:

Notch at 1Khz, this where your radio will be running in optimal performance representing max level of signal with lower noise:


Level outside the 1Khz frequency (200Hz in this case) representing the noise:
Add: After changing the meter to 100uA I can now adjust to full scale.
 During testing:

I experience some problems on the 400Khz divider part of the circuit because I tough I could get away with a different IC for the same function and not the referenced 74HC74 in the schematics. Placing the original fixed it.


Have a nice day!

Sunday, November 03, 2019

USB temperature measurement with LM35 and Arduino

Just needed a way to output temperate measurement from an LM35 on the serial or USB port.

Nothing fancy here, some code on the Arduino to read an analog input from the sensor and output it on the USB, the usb connection on the Arduino will also take care of powering the circuit.

The output temperature range will be a limited due to max power supply (5v) and of the gain stage (5x) to "increase" resolution of the Arduino ADC and reduce uncertain on the ADC conversion. In practice temperature range will be around 0 to 70 C positive.

Finished, boxed product, just one cable to the sensor and the Arduino inside:


Code running and pooling data to the desktop:

Inside:


Circuit:


Opamp gain stage (5x) for the LM35:


 There's a second opamp in the LM358 that could be used for a second sensor.

Input (10mv per *C, so that is 20.9 *C) and output after opamp:


5.018 gain in practice (1049mv/209mv) and 5.1 in theory. I used a 8.2k and 2K resistors so the gain will be 4.1 + 1

I also created some code to read the values on the desktop using python:

Could be handy for OSD display/overlay on video but mostly will be used for automation measurement.
You can use also any terminal program reading /dev/ttyUSB0 (or other device where the Arduino/circuit is connected):


 By adding the gain stage the fluctuation on the reading is mostly reduced (as image above), much less as when the LM35 output is directly connected to the ADC, could  see around 1 *C or more variance in the initial testing.

[Arduino code]:

 // read temperature from an LM35 sensor
// there is external opapmp with 5x gain to compensate Arduino ADC resolution.
// CT2GQV 2019
// based on code for the LM35 sensor read and adapted to external opapmp
// if no amp on the signal from LM35 then remove lines:   temp_val1 = temp_val1/5;


int lm35_1 = A1;  
int lm35_2 = A2;


void setup() {
  Serial.begin(9600);
}

void loop() {
  int temp_adc_val1;
  int temp_adc_val2;
  float temp_val1;
  float temp_val2;
  temp_adc_val1 = analogRead(lm35_1);    // read sensor 1

// debug
//Serial.print("ADC:"); Serial.print(temp_adc_val1);

  temp_adc_val2 = analogRead(lm35_2);  // read sensor 2
 
  temp_val1 = (temp_adc_val1 * 4.88);    /* Convert adc value to equivalent voltage */
  temp_val1 = temp_val1/5; // we scale the voltage by 5 times with external opamp
  temp_val1 = (temp_val1/10);    /* LM35 gives output of 10mv/°C */


// For second sensor on A2 uncoment the next 4 lines line
//  temp_val2 = (temp_adc_val2 * 4.88);    /* Convert adc value to equivalent voltage */
//  temp_val2 = temp_val2/5;  // scaling by 5 since the opamp will amplify 5x
//  temp_val2 = (temp_val2/10);    /* LM35 gives output of 10mv/°C */
// Serial.print("T2:"); Serial.println(temp_val2);

  Serial.print(temp_val1); Serial.println(" *C");
  delay(1000);
}


[Python code for screen display]:

#!/usr/bin/python
from serial import *
from Tkinter import *
# adaptation from here:
# http://robotic-controls.com/learn/python-guis/tkinter-serial

serialPort = "/dev/ttyUSB0"
baudRate = 9600
ser = Serial(serialPort , baudRate, timeout=0, writeTimeout=0) #ensure non-blocking

#make a TkInter Window
root = Tk()
root.wm_title("- Temperature -")

label = Label(root,text="waiting data...", fg="light green", bg ="dark green", font = "Helvetica 18 bold italic")
label.pack()

serBuffer = ""

def readSerial():
    while True:
        c = ser.read() # attempt to read a character from Serial
       
        #was anything read?
        if len(c) == 0:
            break
       
        # get the buffer from outside of this function
        global serBuffer
       
        # check if character is a delimeter
        if c == '\r':
            c = '' # don't want returns. chuck it
           
        if c == '\n':
            serBuffer += "\n" # add the newline to the buffer

            label.config(text=serBuffer)           

            #add the line to the TOP of the log
#            log.insert('0.0', serBuffer)
            serBuffer = "" # empty the buffer
        else:
            serBuffer += c # add to the buffer
   
    root.after(10, readSerial) # check serial again soon

# after initializing serial, an arduino may need a bit of time to reset
root.after(100, readSerial)

button = Button(root, text=' EXIT ', width=35, command=root.destroy)
button.pack()

root.mainloop()
# end code

--
Have a nice week!