Monday, October 05, 2026

Icom IC-2730 interface and programing on Linux using CHRIP

Got an IC-2730E with the black display and wanted to program it via Linux.
Made the interface using this diagram:

The 3.5mm plug is to connect on the radio "Ext speaker jack 2"

The USB connection of the converter was recognized as /dev/ttyUSB0 , that can be changed on CHIRP.

Screenshot of some memories programing:


And the radio display:

Also IMPORTANT I only managed to upload/clone In when setup on CHIRP the radio as IC-2730A (America), with the setup for IC-2730E (Europe as mine is) it was only allowing to clone out and failing on the upload.


The USB to RS232 adapter is from a listing with the following name: "USB to Serial RS232/UART TTL/RS485 DB9 Converter Adapter Module FTDI FT232BM/BL" others similar might also work. Here's mine along withe connection made on the plug.


Also it only worked correctly when the jumpers were on the "RS485" side, I guess that is for setting which output of the module, either DB9 or TTL.

CHIRP command on Linux was run from downloaded file "Chirp-next-20260918-x86_64.AppImage": this way: ./Chirp-next-20260918-x86_64.AppImage

Links for reference:

CHIRP on Linux
https://chirpmyradio.com/projects/chirp/wiki/ChirpOnLinux

ICOM IC-2730 DIY USB PC programming interface FTDI
https://www.dk9jc.de/blog/equipment/210-icom-ic-2730-diy-usb-pc-programming-interface-ftdi

Ham Radio Remote Control The IC 2730
https://simplehrr.com/simple-ham-radio-remote-project-rpi-ic2730-rmt

Icom OPC-478 interface
http://ok1dx.cz/constructions/opc478/opc478.html

Have a nice day!


Sunday, June 25, 2023

Simple ESR meter

 Almost a copy from here.


Only added provision for self "TEST", that is; the switch disconnects the terminals and connect internally to know resistor values via rotary switch (minimum 2 Ohm since had nothing smaller at the time). Also add zeroing via a pot on R24 place.

Diagram from the original site:


Inside:


and during testing:

Works nice, handy for testing old caps.

Have a nice day!


Saturday, April 29, 2023

Simple Capacitance Meter

 As title says; a simple capacitance meter.

One youtube video by VK3YE was enough to get me started building, after all, the meter that I was using before was not behaving correctly (latter found the problem).

The outcome was this:

(scale on the left switch is wrongly printed, where is x2 should be x0.5/divide by 2)

During build:

Making the scale:
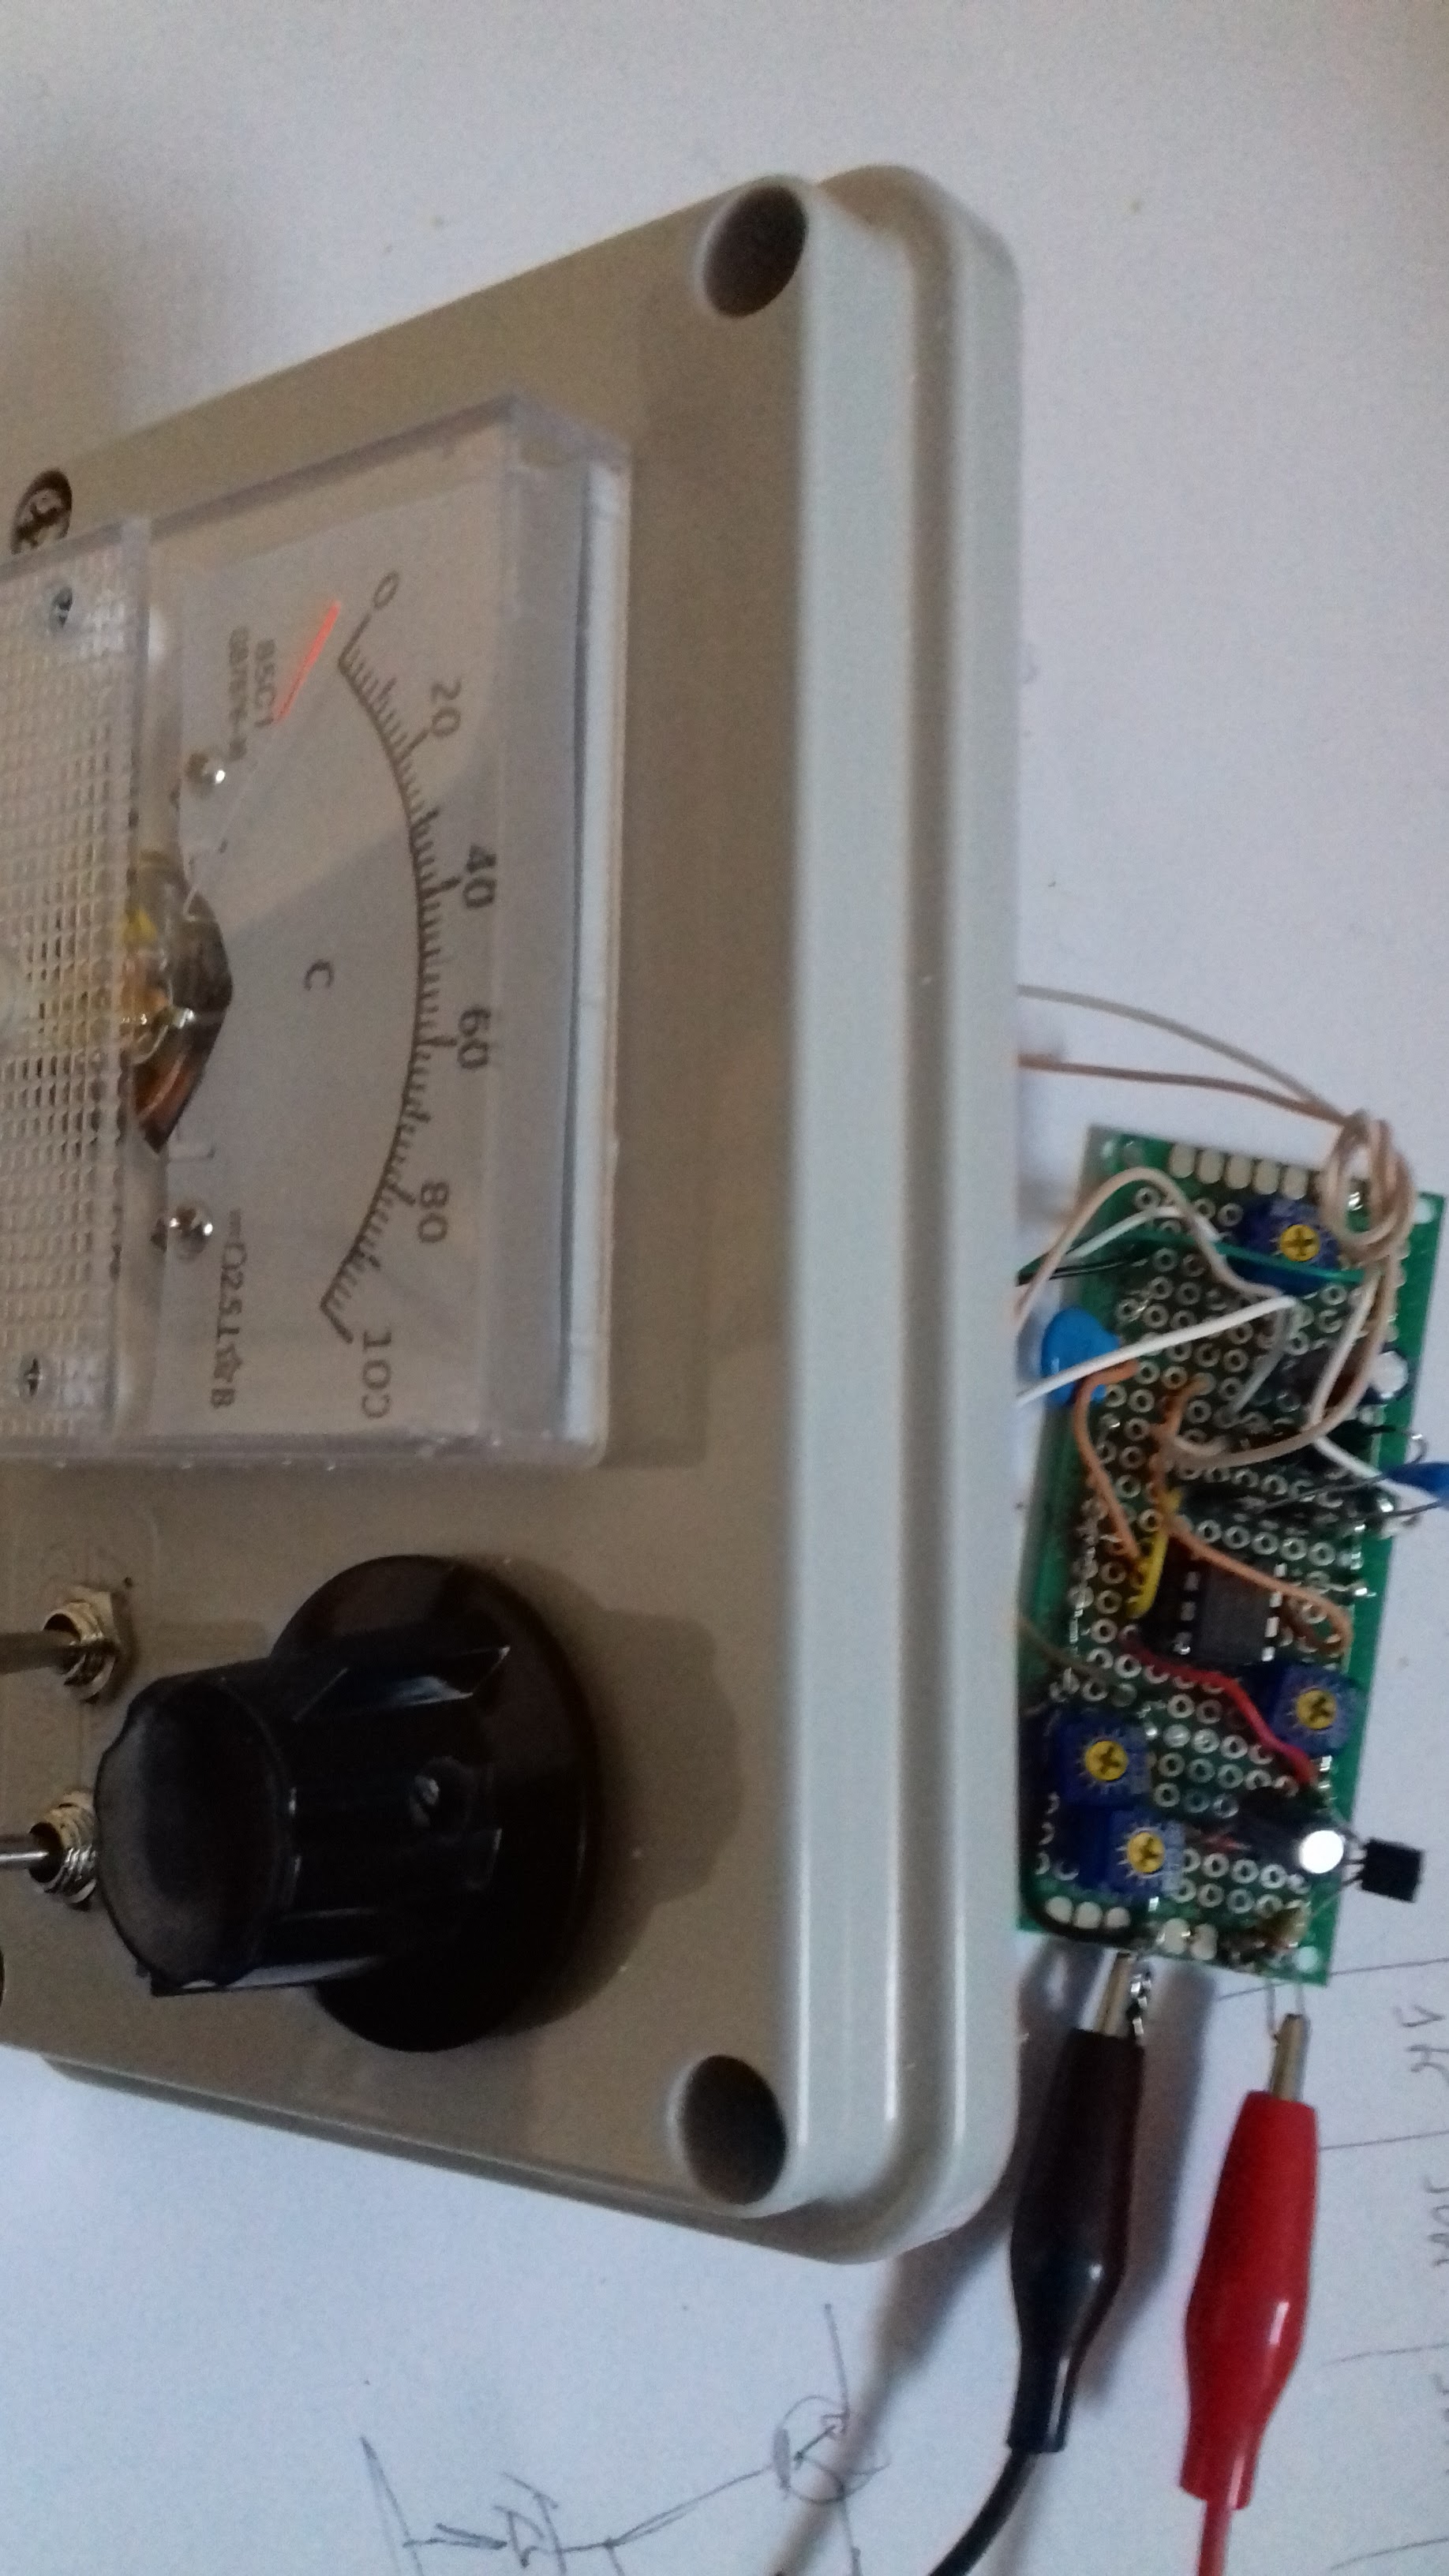
The scale on the meter was changed from the original 0-50 to 0-100, the easiest way was to scan the original face-place and then edit on a image editor.

To calibrate I used a 68pF and 27pF capacitor, the idea was not to have highest precision possible only to be in a position of having certain about unmarked capacitors.

Some description/schematic from here and here:

I used different Ge diodes and the 10K pot was changed for 2 of 5K in series to give better adjustment range. The Zener was changed to 6.8v.
Ranges like this:

E: 100pF
D: 1nF
C: 10nF
B: 100nF
A: 1uF


Have a nice day!


Saturday, April 01, 2023

Clock for a clock - 32.768Khz oscillator

 Not planing to build any electronic clock but who knows. Just found one of those round clock crystals and decided to give it a go.

The diagram and assembly

  The output, ideally it will be 32.768Khz so that diving for the same number will tick at 1s:

As low as it was possible to adjust, it will be less than 1s faster per day... time flies!


Have a nice day!


Sunday, March 05, 2023

Interdigital Bandpass Filter for 1.2Ghz / 23cm

 Part of a project on 1.2Ghz that will include this band-pass filter.

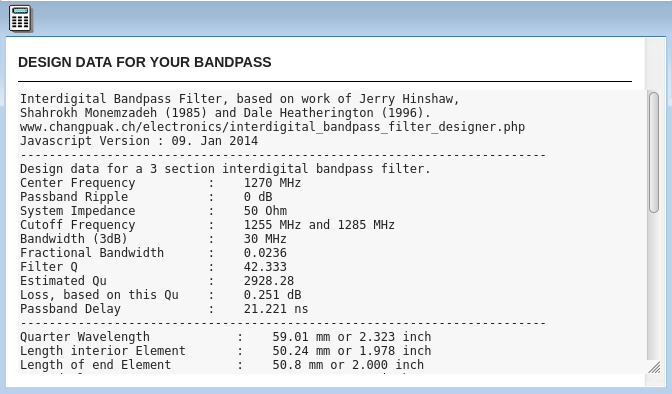
Main dimensions got online via the tool here: https://www.changpuak.ch/electronics/interdigital_bandpass_filter_designer.php

Some details of similar construction for different frequency range (ADS-B) here: https://keptenkurk.wordpress.com/2014/11/05/a-homebrew-1090mhz-ads-b-filter/


My construction:


Used FR4 double sided PCB for the sides and brass for elements, bottom and top


Online results example for dimensions:


 And the outcome:


Regarding results; not the best optimization for attenuation but not bad either considering the dimensions and construction not to the greatest dimensional andards:


Have a nice day!

Saturday, November 19, 2022

High voltage supply for tube/valve tester

 A power supply for a future tube/valve tester


Main circuit for the positive side is similar to the one bellow (the top section),


 The filament circuit is similar to the bottom section.

 The negative supply is similar to the diagram bellow("Standard") with small adaptations to allow 2 different ranges:


 There's a separate transformer for each of the supplies; the filament the positive and the negative, also other separate on to power the voltage meters.

Was added a small relay controlled high voltage supply output so I don't get accidentally zapped, you need to constantly press enable button to have high voltage output at the terminals.

The internals:


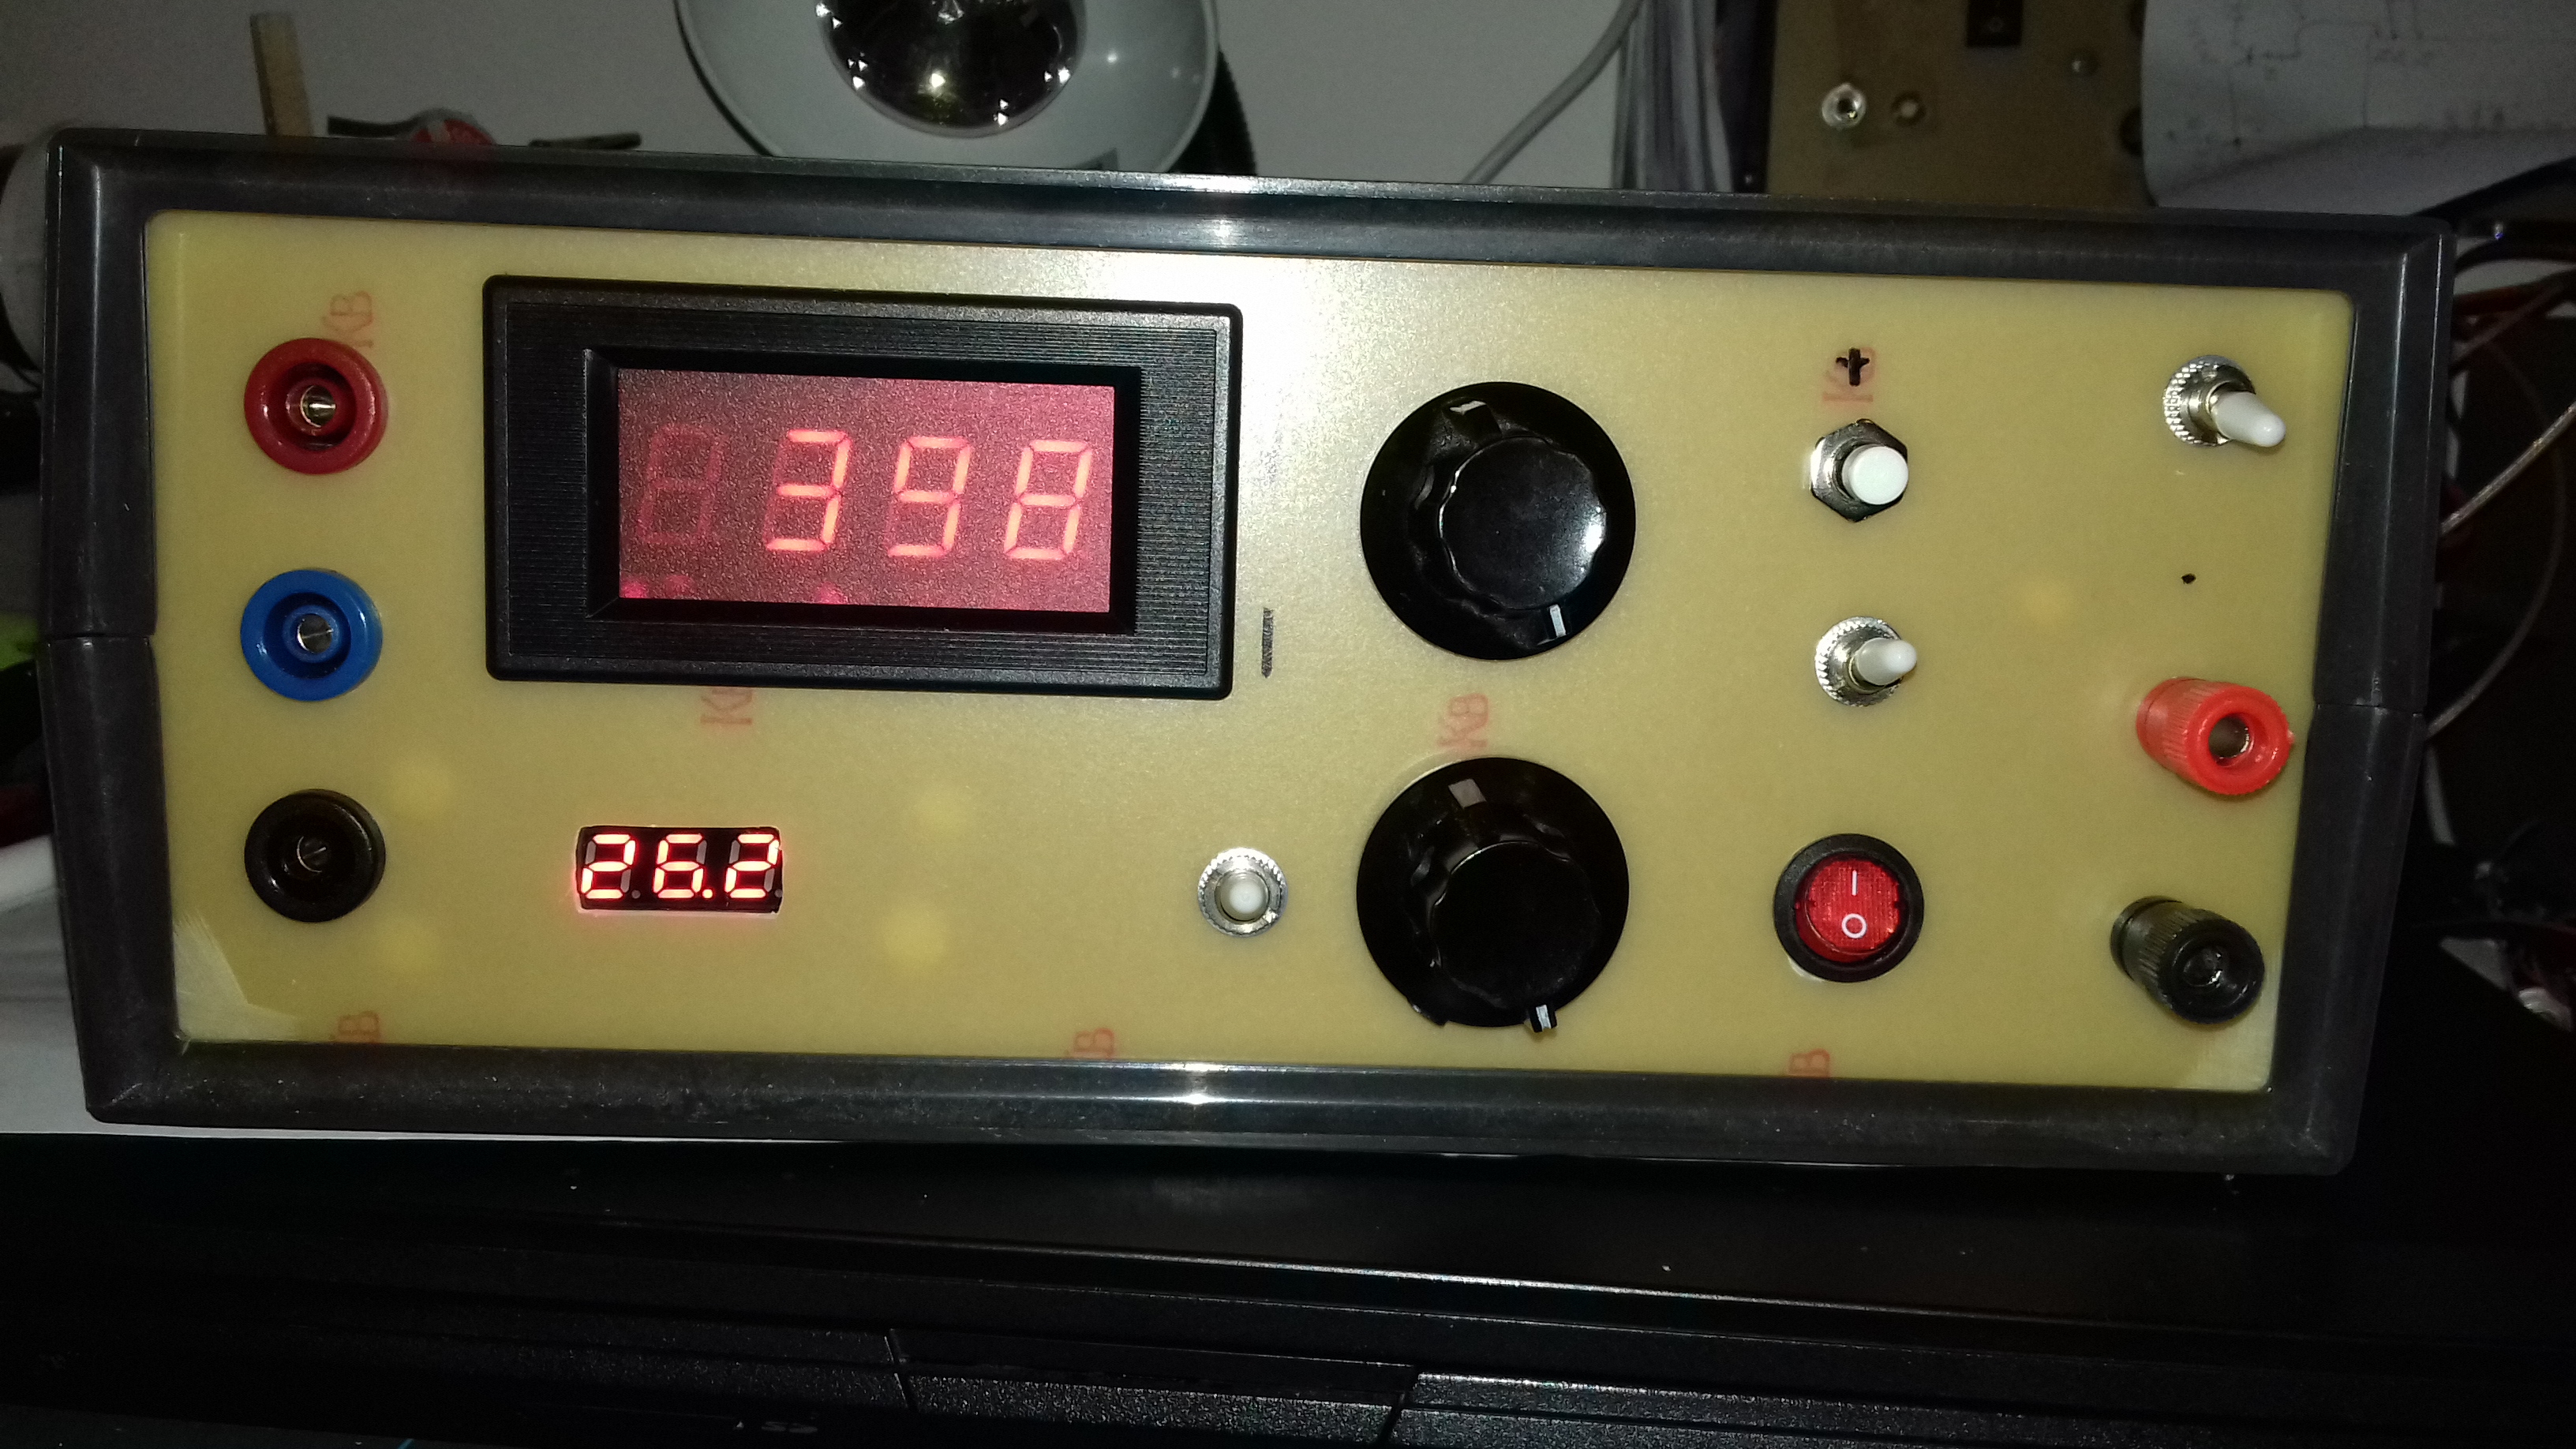
 Finished here:


Working during testing:


Now I still need the tube socket and metering part for the full valve/tube test set, eventually something like this (only the top section):


Have a nice day!


Monday, October 03, 2022

Arduino bootloader burner

I have some spare ATmega328 chips that are not programed and can be used in some projects specially now the prices Arduino boards got some inflation.

In order to upload the program to the IC's you will need to burn first the bootloader, at least so that later you then upload via de Arduino IDE. 

Schematic and instruction are from here: https://docs.arduino.cc/built-in-examples/arduino-isp/ArduinoISP

End result:


Bottom Arduino is the programmer where you upload the ArduinoISP.ino code, it connects to the Arduino on top (target) that is going to have the chip to be programmed/burn.
The zif socket on the target Arduino just facilitates the insertion of the ATmega IC.

Another view:


For uploading: select the Arduino programmer USB port and then the programmer type "Arduino as ISP", in the end just "burn bootloader".


After bootloader burn:

Have a great day!